Building an Emergency Fund From Zero: A 12-Month Blueprint
Creating an emergency fund is one of the smartest financial steps you can take. It provides a safety net for unexpected expenses like medical bills, car repairs, or temporary income loss. But how do you go from zero to a fully funded emergency fund in just 12 months? This comprehensive guide offers a step-by-step plan, practical tips, and expert advice to make it achievable.
Why a 12-Month Timeline Works
A 12-month plan is long enough to make significant progress, yet short enough to keep motivation high. By spreading your savings across a year, you can:
- Build a consistent habit of saving
- Test spending adjustments without feeling deprived
- Achieve a 3–6 month reserve of essential expenses
For freelancers or gig workers, aiming for 6–12 months is safer due to variable income.
Step 1: Calculate Your Emergency Fund Target
Start by totaling your essential monthly expenses, including:
- Housing (rent/mortgage)
- Utilities
- Groceries
- Insurance
- Minimum debt payments
- Transportation
- Childcare
Exclude discretionary spending like dining out, streaming subscriptions, and hobbies.
Example Calculation:
| Monthly Essentials | $2,500 |
| 3 months reserve | $7,500 |
| 6 months reserve | $15,000 |
Tip: Use an emergency fund calculator to personalize your target.
Step 2: Set a Realistic Monthly Savings Goal
Divide your total target by 12 to establish your monthly contribution. If this feels too ambitious, start with a smaller milestone:
- Primary goal: Save one month’s essentials in the first 3 months
- Secondary goal: Reach your full 3–6 month target in the remaining 9 months
Example Plans:
- Aggressive: $15,000 → $1,250/month
- Moderate: $7,500 → $625/month
- Starter: First milestone $1,000 → ~$335/month
Step 3: Find the Money (Months 1–3)
Focus on three income paths:
- Reduce Expenses: Cancel unused subscriptions, renegotiate bills, and cut small discretionary spending.
- Increase Income: Take on overtime, side gigs, or sell unused items.
- Reframe Windfalls: Allocate bonuses, tax refunds, or stimulus checks directly to your fund.
Small changes, like skipping two restaurant meals weekly, can free up hundreds of dollars monthly.
Step 4: Automate and Separate (Months 1–12)
Open a dedicated, FDIC-insured or NCUA-insured savings account. Set up automatic transfers aligned with your paydays.
Why it works:
- Reduces temptation to spend
- Simplifies tracking progress
- Automation accelerates growth—clients often hit goals 40–60% faster
Keep funds liquid but safe. High-yield savings accounts and money market accounts are ideal.
Step 5: Use a Tiered Savings Approach
Divide your fund into three tiers:
- Immediate Cash Buffer ($500–$1,000): Instant access for minor emergencies.
- Primary Emergency Fund (Rest of 3–6 months): High-yield savings or money market account.
- Recovery Bucket (Optional): For freelancers/self-employed, short-term CDs or municipal debt for less immediate access.
This balances accessibility, safety, and modest interest returns.
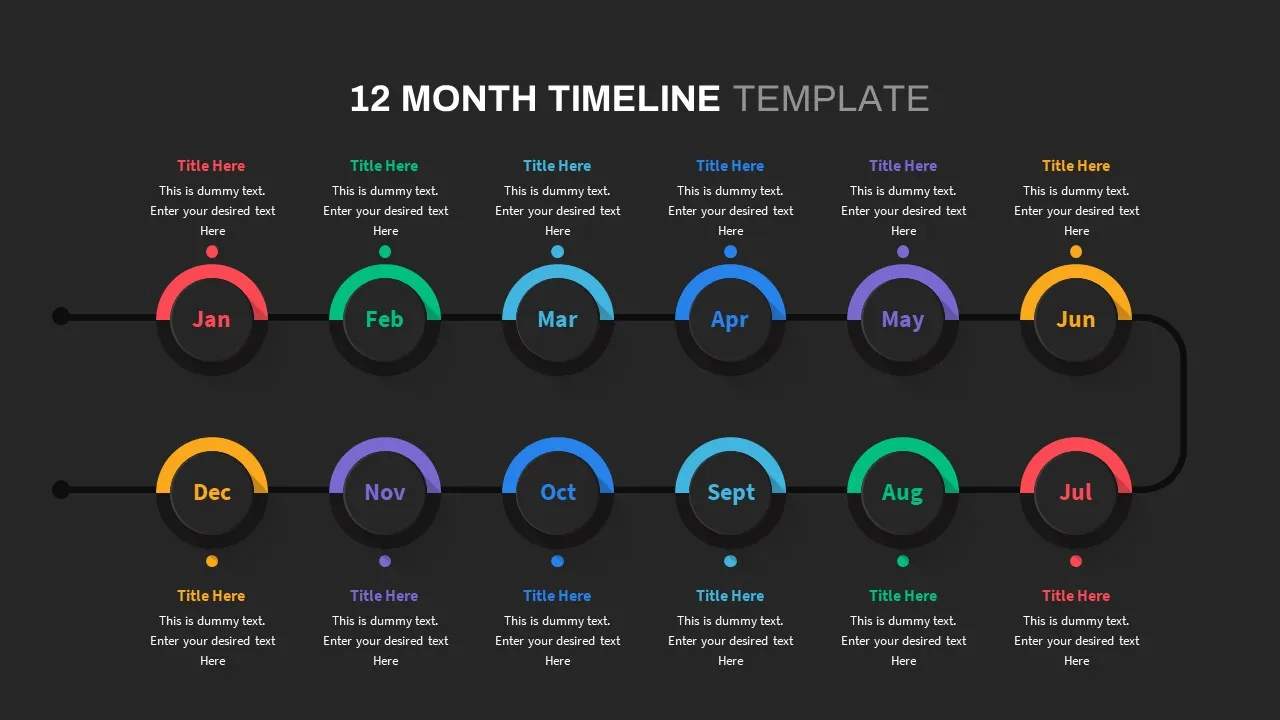
Sample 12-Month Blueprint
| Month | Action | Goal (example $7,500 target) |
| 1 | Calculate expenses, open account, automate transfer | $625 |
| 2 | Apply windfall or bonus | $1,250 |
| 3 | Trim subscriptions, add side gig income | $1,875 |
| 4 | Reassess bills for savings | $2,500 |
| 5 | Redirect bonus/tax refund | $3,125 |
| 6 | Mid-year review, increase transfer if possible | $3,750 |
| 7–11 | Continue automatic savings | $5,625 |
| 12 | Reach target and celebrate | $7,500 |
Adjust contributions based on your personalized target.
Where to Keep Your Emergency Fund
- High-yield online savings accounts
- Money market accounts
Avoid: stocks or long-term bonds (principal risk), or cash “under the mattress” (uninsured).
Interest earned is taxable as ordinary income—track deposits for tax reporting. Consult a benefits counselor if large balances affect eligibility for means-tested programs.
Common Mistakes to Avoid
- Using the fund for non-emergencies
- Chasing high returns with risky investments
- Keeping money in unbanked or uninsured locations
- Setting an unrealistic target
When to Use Credit Instead
For planned, small purchases (like a car repair with 0% financing), using low-cost credit may be better than depleting your fund. Avoid high-interest loans, and always compare costs before deciding.
Behavioral Tips That Work
- Keep your goal visible (apps, spreadsheets, or a jar)
- Automate savings before spending
- Reward milestones: 25%, 50%, 75%, 100%
Special Situations
- Freelancers or small-business owners: target 6–12 months, possibly separate business reserves
- Families with dependents: aim for larger reserves
- Job transitions: temporarily increase the buffer
Real-World Examples
- Young Couple: Cut $300/month, automated $700/month → $10,000 fund in 12 months
- Single Parent: Started $100/month, added tax refund and gigs → $4,800 in 1 year
Maintaining Your Fund After Year One
- Reassess annually for lifestyle or job changes
- Keep a one-month cushion automatically
- Use surplus for sinking funds or investments